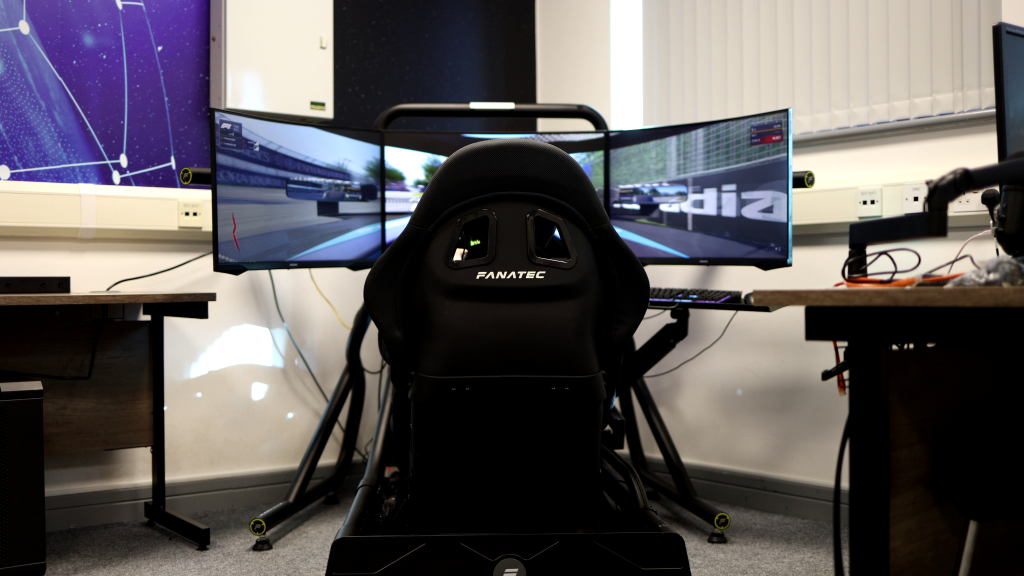
A bass shaker can shake the whole rig and still tell you very little. Late kerb feedback, constant RPM buzz, and several effects fighting through the same channel make everything feel busy without making the car easier to read.
Before the best SimHub bass shaker settings can do their job, the output path has to be right. Get Windows sending a clean signal to the shakers, then separate each effect by frequency, strength, and location. Once those basics are in place, tuning comes down to fixing one clear symptom at a time.

Image Source: Github
Fix the Sound Output First
If every effect feels late, weak, or blurred together, start with the Windows output. A poor output setup affects the whole profile, and no amount of effect tweaking pays off until the signal feeding those effects is right.
Use a separate sound card for your shakers. SimHub’s output guide recommends a dedicated device so game audio and other Windows sounds don’t share the shaker output. Select that device under ShakeIt Bass Shakers > Sound Output, then test each channel before opening the effects profile.
Open the device properties in Windows and set the format to 16-bit, 48,000 Hz. Disable audio enhancements and spatial sound if those options appear, since both add processing your shaker signal doesn’t need.
Uncheck “Allow applications to take exclusive control of this device” when Voicemeeter or another audio program keeps grabbing the sound card. That fixes the access conflict; it won’t reduce latency on its own.
Work Out What’s Causing the Delay
If the shaker reacts after the car has already left a kerb, the delay can come from SimHub’s update rate, the sound driver, a USB problem, or the amplifier.
Start with your SimHub licence. The free version is commonly reported to update ShakeIt output at 10 Hz, while licensed output can run at 60 Hz. At 10 Hz, there are 100 ms between update cycles, which can make short gear shifts and kerb effects feel late or coarse.
A licence won’t cure every delay. Plug the USB sound card straight into the PC rather than through a hub, close any virtual audio mixers, and try another cable or port if the device still behaves badly.
One SimHub forum user measured 140 to 200 ms between an effect trigger and sound-card output across 6 devices. At 200 km/h, that gap is 8 to 11 metres of track. Treat it as one user’s test, since your result depends on the full hardware and software path.
ShakeIt uses WASAPI, and SimHub currently has no ASIO output selector. A separate program, Track Impulse, supports ASIO, though its latency figures come from its own testing rather than an independent comparison.

Image Source: SimHub
Give Each Shaker a Clear Job
Your profile is too busy when kerbs, wheel slip, RPM, and shifts all feel like the same continuous buzz. SimHub’s effects guide recommends no more than 3 ongoing effects on one shaker, with a brief gear-change pulse counted separately.
With one shaker, start with 1 or 2 effects you can identify without looking at the screen. Road impacts and wheel slip make a useful pair, and gear shift works as a third because it’s a short pulse rather than a continuous effect.
For a front-and-rear setup, send braking and front-wheel cues to the shaker beneath the pedal tray. Put gear shifts, rear grip cues, and light road texture through the seat. Use SimHub’s custom channel map when the standard stereo layout sends an effect to the wrong end of the rig.
Keep the seat channel slightly quieter if its vibration travels through the whole frame. Run engine vibration low or switch it off while tuning, since a constant RPM effect can cover the shorter cues you’re listening for through your hands and feet.
Check effect support for each sim before copying the same profile across every game. If the game doesn’t send the required telemetry, raising the gain won’t create the missing information.
Start With Usable Frequencies
Frequency decides whether a gear change feels like a firm thud or a light buzz. Space your effects far enough apart in frequency that each one feels distinct.
| Effect | Frequency to Test First | Target Feel |
| Gear Shift | 25–35 Hz | One short, firm hit |
| Road Impacts | 30–45 Hz | A heavier strike for bumps and landings |
| Kerbs and Road Rumble | 35–50 Hz | Repeated texture with a defined rhythm |
| Wheel Slip | 45–60 Hz | A quicker vibration that differs from an impact |
| Engine Vibration | 20–40 Hz | A quiet background effect |
Treat those numbers as test ranges. Your shaker’s rated frequency response, mounting point, seat, and amplifier will change which of these ranges the shaker reproduces well, and SimHub’s own advice is to find your hardware’s usable range before setting individual effects.
Leave the high-frequency option disabled while testing. SimHub then holds the base frequency and varies only the strength, which makes comparisons easier. A gear shift around 30 Hz is a sensible first test if you want a defined hit.
Small puck-style transducers may struggle at the bottom of these ranges. Move up in 5 Hz steps if the shaker barely responds or starts making more noise than vibration.
Tune the Response Controls
Frequency controls how an effect feels. The response controls decide when it begins and how quickly it strengthens.
Threshold removes telemetry below a chosen level. Raise it when minor road movement keeps triggering the shaker. Lower it when light kerb contact disappears.
Gamma changes the response to small inputs. Values below 1 reduce weaker sensations, while values above 1 make them easier to feel. Begin at 1 and move in small steps.
Minimum force sets the strength sent once the effect becomes active. Raise it when the shaker receives an effect but cannot move strongly enough to be felt. A high setting makes every effect begin with a hard kick, so keep it low unless the hardware needs the extra push.
Input gain increases or reduces the incoming telemetry value. Lower it when an effect reaches full strength too early. Raise it when the SimHub graph moves, but the shaker remains weak.
Change one control at a time. Moving all 4 at once leaves you guessing which adjustment fixed the problem.

Image Source: SimStaff
Record a Lap and Test the Same Moment
Tuning on live laps is slow because no two laps hit a kerb with the same speed, angle, or brake pressure. SimHub’s Record and Replay controls let you test each setting against the same telemetry instead.
Record a short run that contains the events you need to tune. Hit a kerb with each side of the car, use a rough section of track, make several gear changes, and include one clear loss of grip.
Open the recording in Replay mode and select a short range around the event. Mute the other effects, then adjust the frequency and response controls while that section repeats, which makes small differences far easier to judge.
Tune one effect before moving to the next. The gear shift should feel brief, kerb vibration should stop the moment the tyres leave the kerb, and wheel slip needs to start late enough that normal cornering doesn’t keep the shaker running.
Switch SimHub back to Live before driving. Replay keeps feeding the recorded telemetry until you do.
Settings can only work with the vibration that reaches your body. A shaker mounted to a loose bracket, flexible panel, or distant section of the frame may feel weaker than a smaller unit bolted firmly beneath the seat or pedal tray.
Check the mounting point once the profile is dialled in. Tighten the hardware, remove any rattles, and check the vibration actually reaches the part of the rig you aimed it at before raising the gain again.
Need a second pair of eyes on delayed or muddled feedback? SimRigSupport can check your SimHub profile, Windows output, channel routing, and shaker placement remotely.