
There’s not much that beats unboxing new sim racing equipment. Whether you’ve just bought your first racing wheel, upgraded to a direct-drive wheelbase, or finally assembled your brand-new cockpit, being one step closer to a more immersive racing experience is truly exciting. But before you get ahead of yourself, there are a few important things to make sure of before you turn your first laps.
Setting up sim racing hardware involves more than just plugging everything in and turning on your PC. Taking time to get everything properly set up can save you hours of troubleshooting later. That’s why, in this guide, we’ll walk you through these five all-important steps many people skip to get your new sim racing gear up and running:
- Planning Your Physical Layout
- Installing Hardware Drivers
- Calibration, Calibration, Calibration
- Configuring Your Equipment
- Testing Everything
Image by SimStaff
Step 1: Plan Your Power and Cable Layout First
Before connecting anything to your PC, make a plan for where everything will go. Depending on many factors, a sim racing setup can involve several devices, including a wheelbase, pedals, shifter, handbrake, button box, monitor, speakers and a gaming PC. Each of these pieces of kit may need its own power supply, a USB connection, or even a dedicated mounting position.
Without a little planning, it’s easy to get carried away and, before you know it, end up with tangled cables, awkward connections, and power sockets that are difficult to reach.
Check your power requirements
Start by identifying which devices need their own power supply and which draw power through USB. High-powered direct-drive wheelbases, in particular, may require dedicated power supplies. Check the manufacturer’s instructions to ensure you’re using the correct power connections and that your sockets and extension leads are suitable for the equipment.
Top tip: Avoid overloading extension leads or power strips, and keep power supplies somewhere with adequate ventilation. Ignoring this can lead to a fire hazard.
Plan your USB connections
Next, work out how your peripherals will actually connect to your PC. If you’re using multiple USB devices, consider where your PC’s ports are located and whether you’ll need a powered USB hub. Some equipment can be sensitive to USB hubs, so follow the manufacturer’s recommendations and connect critical devices directly to the PC when possible.
And where possible, leave a little slack in each cable so that moving your seat, adjusting your pedals or rotating your wheel doesn’t tug on the connections (or pull them right out).
Keep cables tidy and secure
Once you know where everything will sit, route your cables along the cockpit frame wherever possible. Use cable ties or Velcro cable-management straps to keep them secure, and avoid placing cables where they could catch on moving components or become trapped under your chair.
Top tip: Take some photos of your connections before bundling everything away. If you need to disconnect a device or troubleshoot a problem in the future, you’ll have a useful reference.
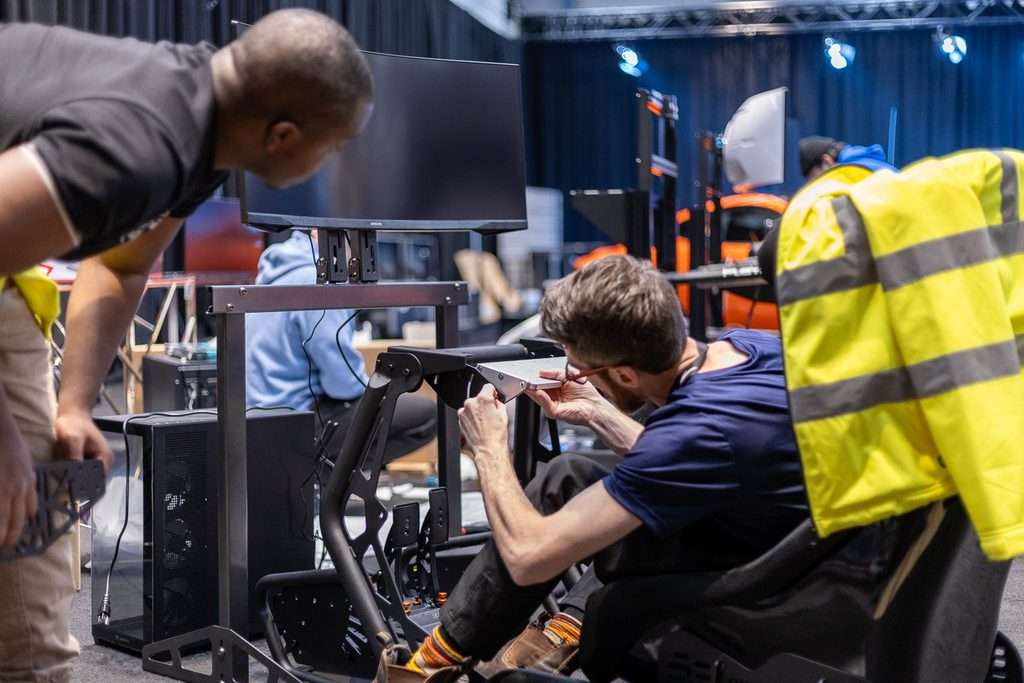
Image by SimStaff
Step 2: Install Drivers Before Connecting Your Hardware
With your physical setup planned, it’s time to prepare your PC, and you’ll want to begin with looking at your drivers (not the ones that wear helmets). In this case, drivers are small pieces of software that allow Windows to communicate with your hardware properly. In doing so, they help your operating system recognise devices and allow the manufacturer’s software to access their features and settings.
Without the correct drivers, you may run into issues like your wheelbase not being recognised properly, your pedals not appearing as expected, or some of your equipment’s key features not being unavailable.
Download the correct software
Before connecting your new hardware, visit the manufacturer’s official website and find the support or downloads page for your exact model. Depending on your equipment, you may need things like:
- Device drivers
- Manufacturer configuration software
- Firmware updates
- Additional utilities for configuring buttons, force feedback or pedal inputs
Make sure you select the correct model and operating system, and avoid downloading drivers from unfamiliar third-party websites.
Check for firmware updates
Firmware is the software built into the hardware itself.
Once your device is recognised and the manufacturer’s software is installed, check whether a firmware update is recommended for your model (manufacturers sometimes release these updates to improve compatibility, fix bugs or address performance issues). And as always, avoid disconnecting or powering off equipment while an update is in progress.
Top tip: Install and configure one device at a time if you’re setting up several new pieces of equipment. That makes it much easier to find out which device is causing a problem if something doesn’t work as expected.
Image by SimStaff
Step 3: Calibrate Your Gear in Windows and Your Manufacturer’s Software
At this stage, it’s important to check that everything is being recognised correctly before launching your game. Checking your calibration helps ensure that your wheel, pedals and other controls produce the expected inputs, and getting this right now can prevent frustrating problems once you’re on track.
Check that Windows recognises your devices
In Windows, open the Start menu and search for Set up USB game controllers. Depending on your Windows version and device, you may see your connected controllers listed here. Then, select the relevant device and open its properties to check whether the available inputs respond when you move the controls.
Turn your steering wheel, press each pedal, and if you have additional toys like a shifter or handbrake, operate any inputs available to you there as well. Additionally, if your device offers a dedicated calibration or testing tool, use that too.
Top tip: Not every sim racing device is built equal, and they may not expose all their features through this Windows panel the same way, so don’t worry if some settings are only available in the manufacturer’s software.
Here’s a few more equipment-specific notes to consider:
Wheelbase
Open your wheelbase’s configuration software and check the available settings. Depending on the model, you may be able to adjust steering rotation, force feedback strength and other response settings.
However, for your first session, it’s usually best to start with the manufacturer’s recommended settings rather than immediately experimenting with advanced options.
Pedals
Pedals deserve particular attention because they directly affect braking and acceleration. Open the relevant configuration software and check that the throttle and brake inputs move smoothly across their expected ranges.
If you’re using a load-cell brake, remember that it measures applied force rather than simply how far the pedal travels. You may need to adjust the brake force or sensitivity to suit your preferences.
Also, make sure each pedal reaches its expected maximum input when fully pressed and returns to its resting position when released.
Additional Peripherals
If you’ve installed a shifter, handbrake, button box or other accessories, check that each one is recognised and responding correctly.
If a device has configurable buttons, confirm that the inputs are assigned as expected before moving on to your game.

Image by SimStaff
Step 4: Configure Your Equipment in Your Racing Simulator
Your hardware may be working perfectly in Windows, but you should still make sure your chosen game recognises it correctly. Different games support different devices and may require different configuration steps.
Assign your controls
After launching your game, check the settings menu to see whether it has detected your wheelbase and pedals. If necessary, manually assign the steering, throttle, brake and clutch inputs. If you’re using a separate shifter or handbrake, you’ll need to configure those controls too.
Set your steering range
Some games automatically configure steering rotation based on your hardware, while others let you set it manually. Where possible, follow the game’s and wheelbase manufacturer’s recommendations for matching steering rotation.
Start with sensible force feedback settings
Force feedback is one of the most rewarding features of sim racing, allowing you to feel information about the car through your wheel. However, turning everything up to maximum isn’t necessarily better. In fact, excessive force feedback will make your wheel difficult to control, mask useful details and, on some systems, cause clipping.
So, start with the game’s recommended settings and adjust gradually until the steering feels informative and manageable.

Image by SimStaff
Step 5: Test Everything Before Your First Race
Now it’s time to make sure everything works together. Choose a familiar circuit and start with a practice session rather than jumping straight into a competitive online race.
In this practice session, check the following:
- Steering: Does the car respond predictably to your inputs?
- Throttle: Can you apply power smoothly across the pedal’s range?
- Brakes: Does the car slow down reasonably when you press the brake?
- Force feedback: Can you detect useful information through the wheel?
- Additional controls: Do your shifter, handbrake and assigned buttons work correctly?
If something doesn’t feel right, resist the temptation to change a bunch of settings all at once. Work through the possible causes systematically by making one adjustment at a time, as it will be easier to understand what’s changed and what still needs attention this way.
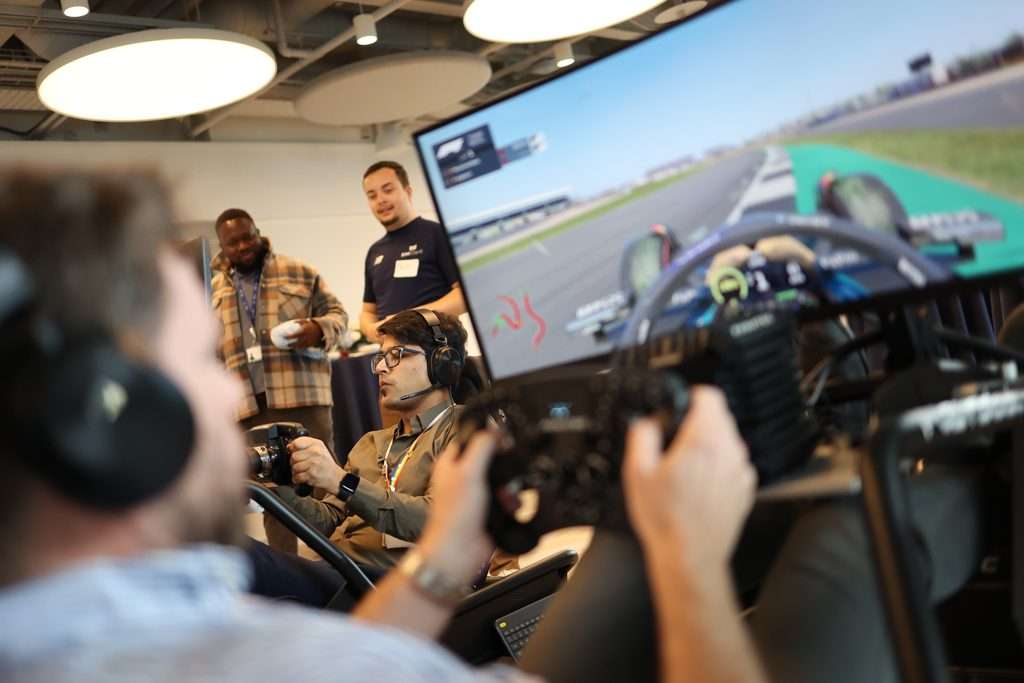
Image by SimStaff
How SimStaff Can Help
Getting new sim racing equipment up and running doesn’t have to be complicated. With a little planning, the correct drivers, and a proper calibration process, most drivers (the ones that do wear helmets) can get their hardware ready for the track without too much trouble.
The key is to take things one step at a time. It’s tempting to rush, but taking care to organise your cables, follow the manufacturer’s installation instructions, check your inputs, and test your controls before joining a race can save you a lot of grief down the road.
And remember, you don’t have to do everything yourself.
Whether you’re building your first cockpit, upgrading to a more advanced direct-drive system or putting together a complete multi-peripheral rig, SimStaff can help with custom assembly and professional cable management for a clean, ready-to-use setup.
If your hardware is connected but you’re struggling with drivers, calibration or compatibility, SimRigSupport offers remote assistance to help get you back on track.
Ready to get the most out of your sim racing equipment? Contact SimStaff to discuss professional assembly and custom rig solutions, or visit SimRigSupport for help with setup, calibration and troubleshooting.


